TL;DR: Transcribe your video first, then batch the work: mark 8-12 highlights, cut all the clips in one go, write every text post from the transcript, build carousels from templates, and schedule it all at once. Handle each step in order instead of multitasking, and one long-form video becomes about 20 posts in a single focused afternoon.
You filmed one solid 30-minute video. Now you're staring at it, wondering how to feed five hungry platforms all week. Good news: you don't need to film more. You need a video repurposing workflow — a repeatable system that pulls 20 pieces of content from a single recording in one focused afternoon.
This isn't about working faster in a frantic scramble. It's about building an assembly line so that once your video is done, the rest is mostly cutting, labeling, and scheduling. Let's build it.
Why One Video Is Worth 20 Posts
A long-form video is dense. In 30 minutes you probably make five or six distinct points, tell a couple of stories, drop a few one-liners, and answer questions your audience actually cares about. Each of those moments can stand alone.
When you repurpose long-form video, you aren't diluting your message. You're giving it more chances to land. Different people scroll different platforms at different times. The same insight as a 45-second clip, a carousel, and a text post reaches three separate slices of your audience.
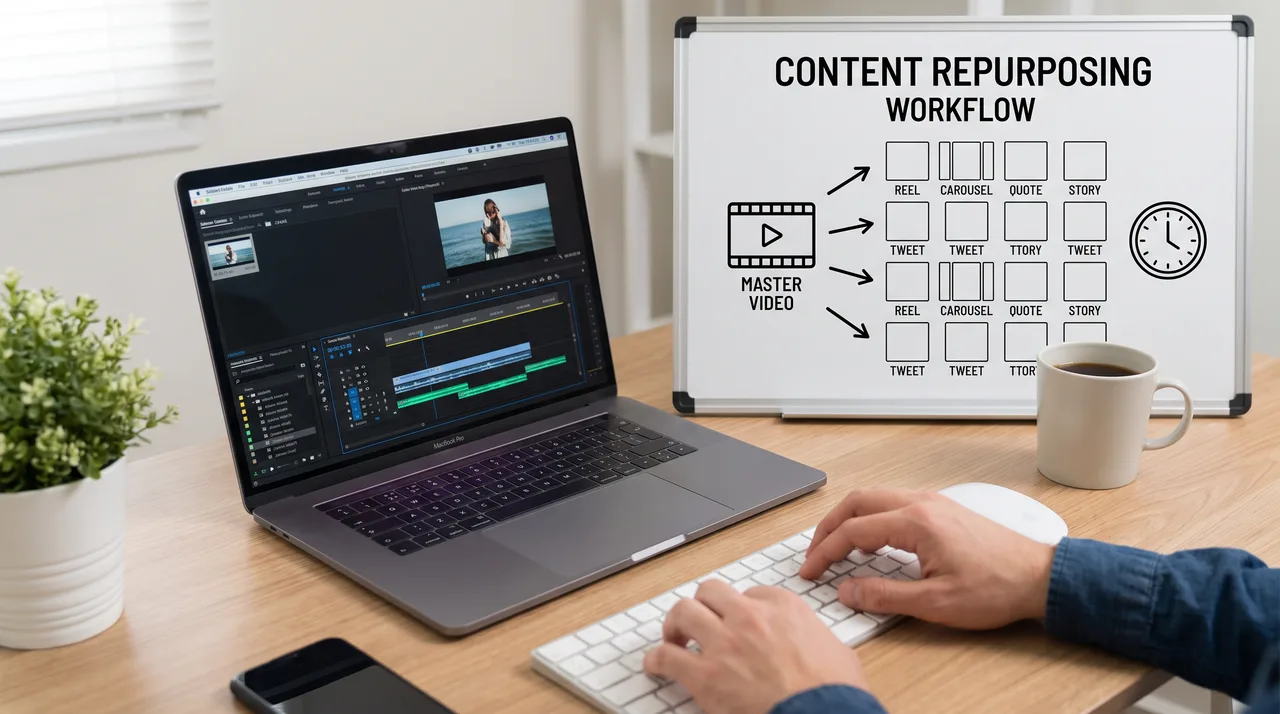
The math is friendly too. One video split into:
- 5 short vertical clips
- 5 quote or text posts
- 3 carousels
- 3 written captions/threads
- 2 audiogram or quote-card graphics
- 2 repurposed clips for a newsletter or blog
...easily clears 20 posts. And none of it required a second recording session.
The Core Video Repurposing Workflow
Here's the whole thing at a glance before we break down each step. The key is doing it in order. Don't jump between tasks, because switching modes is what eats your afternoon.
| Step | Task | Rough time |
|---|---|---|
| 1 | Transcribe the video | 5 min (automated) |
| 2 | Mark the highlights | around 20 min |
| 3 | Cut the clips | around 45 min |
| 4 | Write the text posts | 40 min |
| 5 | Design carousels & quote cards | 30 min |
| 6 | Caption, tag, and schedule | 40 min |
That's roughly a few hours of actual work. Add a coffee break and you're done by mid-afternoon.
Step 1: Transcribe First, Always
Before you touch the video timeline, get a transcript. Tools like Descript, Otter, or your editing app's auto-caption feature will do this in a few minutes.
The transcript is your map. You'll scan text far faster than you'll re-watch footage, and you can copy-paste straight from it into your text posts later. This one habit saves more time than anything else in the process.
Step 2: Mark the Highlights
Read through the transcript and highlight anything that could stand on its own. Look for:
- A clear, quotable sentence
- A mini-story with a beginning and end
- A step-by-step tip
- A surprising stat or opinion
- A question you answer well
Drop a timestamp next to each highlight. Aim for 8 to 12 marked moments. That's plenty of raw material for 20 posts once you remix formats.
Don't overthink quality here. Mark generously; you'll cut later. A moment that feels ordinary in context often shines once you isolate it.
Batching Beats Multitasking
This is where content batching earns its keep. Instead of taking one highlight all the way from clip to caption to schedule and then starting over, process all the clips together, then all the captions together, then all the designs.
Why? Your brain works better in one mode at a time. Editing video uses different mental muscles than writing captions. Every time you switch, you pay a tax in focus and speed.
So the rule is simple: finish an entire step before moving to the next one. Cut all your clips in one sitting. Write all your text posts in the next. That's the difference between a smooth afternoon and a scattered all-day slog.
Step 3: Cut the Clips
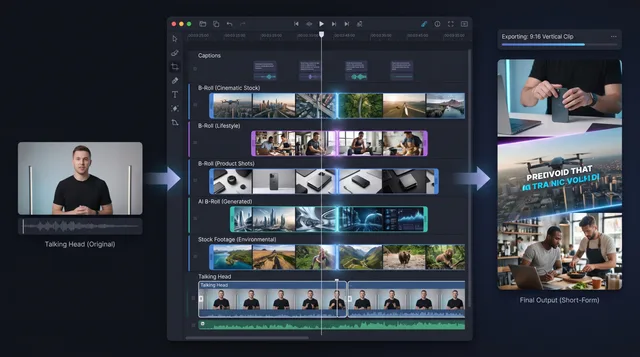
Open your editor and jump straight to your marked timestamps. For each clip:
- Trim to a clean start and end (cut the "um" at the front).
- Crop to vertical (9:16) for Reels, Shorts, and TikTok.
- Add auto-generated captions — most viewers watch on mute.
- Export.
Keep clips between 20 and 60 seconds. If a moment runs long, that's usually a sign it should become a carousel or text post instead of a clip. Don't force it.
Name your exports as you go — clip-01-morning-routine, clip-02-pricing-tip — so you're not guessing later. A little labeling now saves confusion at the scheduling stage.
Step 4: Write the Text Posts
Now leave the video alone and open your transcript. Turn each highlight into standalone written content:
- Quote posts: Pull the sharpest sentence, clean up filler words, done.
- Threads or LinkedIn posts: Expand a tip into a short numbered list.
- Text-only takes: Rephrase an opinion as a punchy one-liner.
Because you're working from the transcript, you're editing words you already said out loud, which means they sound like you. That authenticity is hard to fake and easy to lose when you write from scratch.
Turning Clips Into Even More Formats
You've now got clips and text. Multiply them by changing the wrapper.
Step 5: Carousels and Quote Cards
Open Canva (or your template of choice) and reuse a saved layout. A single tip from your video becomes a 5-slide carousel: hook slide, three points, call to action. A single quote becomes a shareable graphic.
The trick is having templates ready before your afternoon starts. Build two or three reusable designs once, and every future session drops new text into the same frames in minutes.
Audiograms and Blog Snippets
Got a great audio moment but shaky video? Turn it into an audiogram — a waveform animation over a static image. And your full transcript, lightly edited, becomes a blog post that feeds search traffic for months. One more reason transcribing first pays off.
Step 6: Caption, Tag, and Schedule
This final stretch is where a lot of creators stall, so treat it as its own batch. Line up everything you've made and process it in one pass.
For each post, write:
- A hook line (first sentence stops the scroll)
- The body or context
- A call to action
- Relevant hashtags or tags
Then load it all into a scheduler like Buffer, Later, or Metricool. Spread your 20 posts across one to two weeks so you're not dumping everything in a single day.
Here's a simple caption skeleton you can copy and reuse for every clip:
[Hook: the surprising or bold line]

[1-2 sentences of context or the actual tip]

[Question or CTA: "Save this for later" / "What's your take?"]

#niche #topic #relevant
With a template, you're filling in blanks instead of inventing structure 20 times.
A Realistic Afternoon Timeline
Here's how it maps to actual clock time so you can plan your session:
| Time | What you're doing |
|---|---|
| 1:00 | Transcribe + mark highlights |
| 1:30 | Cut and export all clips |
| 2:15 | Coffee break |
| 2:30 | Write all text posts |
| 3:10 | Build carousels and quote cards |
| 3:40 | Caption, tag, schedule everything |
| 4:20 | Done — 20 posts queued |
The first time will run longer as you set up templates and learn your tools. By your third session, it's almost mechanical.
Tips to Make It Faster Next Time
Once you've run the video repurposing workflow a couple of times, these tweaks compound:
- Film with repurposing in mind. Pause between points and speak in clean, quotable sentences. Your future self will thank you.
- Keep a swipe file of templates. Caption skeletons, carousel layouts, hook formulas.
- Create a naming system for exports and drafts so nothing gets lost.
- Set a hard stop. Give yourself the afternoon and no more. Constraints force you to ship instead of polish forever.
Don't Chase Perfect
The biggest enemy of this workflow isn't a lack of tools. It's the urge to perfect every clip. A slightly rough post that goes live beats a flawless one stuck in drafts. Repurposing works because of volume and consistency, not because each piece is a masterpiece.
The Payoff
Most solo creators burn out trying to make fresh content for every platform every day. That's an unwinnable game. A solid video repurposing workflow flips it: you invest in one strong recording, then extract weeks of value from it in a single focused afternoon.
Repurpose long-form video this way and you'll show up everywhere without living inside your editor. Batch the work, trust the assembly line, and let one video do the heavy lifting for 20 posts, or more.
Start with your next recording. Transcribe it, mark ten highlights, and give yourself three hours. You'll be surprised how far one video really goes.